
Bollinger Bands wrap price in an envelope that widens when the market gets agitated and narrows when it calms down. This method uses them as target references: the middle band (the average) as the first goal, the outer band as the second. It does not promise price will get there.
How the levels are calculated
The bands are computed at the signal candle: a simple average of the last 20 closes (middle band), plus and minus 2 standard deviations (upper and lower bands). These are the default values of the Bollinger indicator (period 20, deviation 2). The entry price is the close of the signal candle.
- Stop: 1.5 ATR from entry, on the losing side. It does not depend on the bands.
- TP1: the middle band by default (tp1Mode = 1); the outer band on the trade’s side if tp1Mode = 2.
- TP2: the outer band on the trade’s side by default (tp2Mode = 1); if tp2Mode = 2, twice the distance between entry and TP1.
- Fallback: if the level chosen for TP1 is not in the trade’s direction (more than 0.1 ATR from entry), the outer band is used, otherwise the middle band. If price is outside the bands and none is usable, the calculation falls back to 1.5 ATR and 3 ATR.
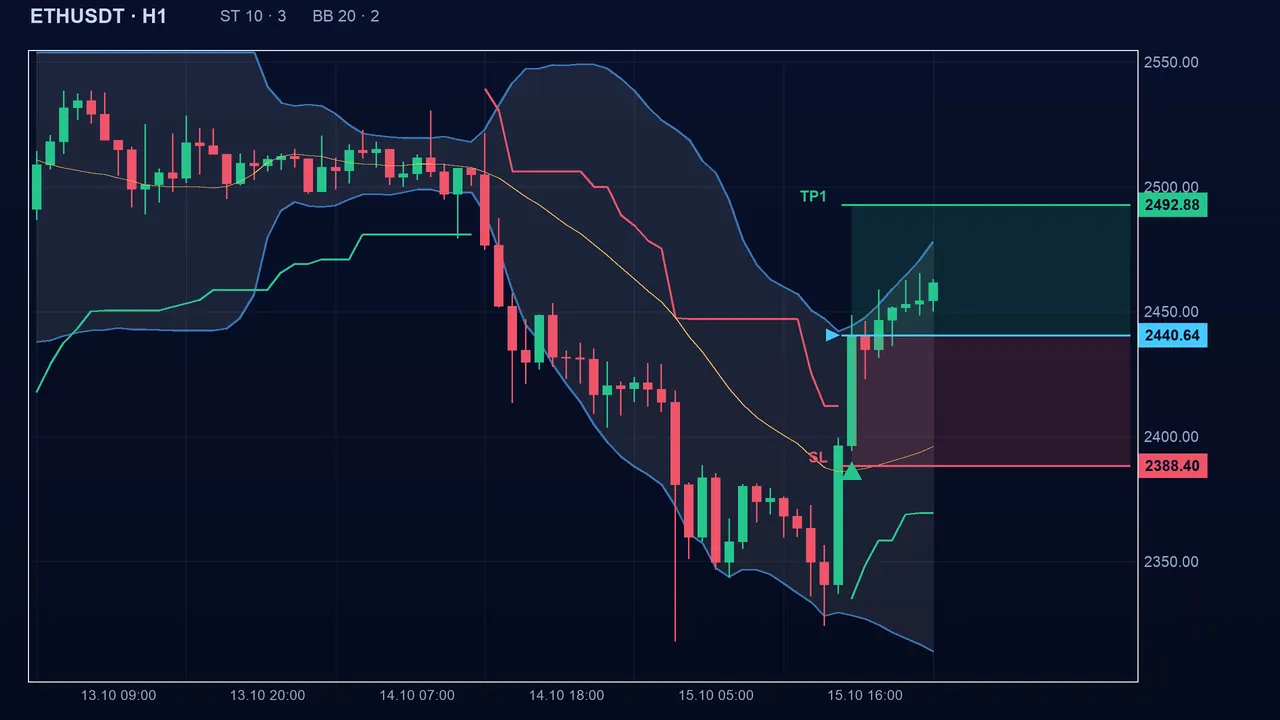
A worked case
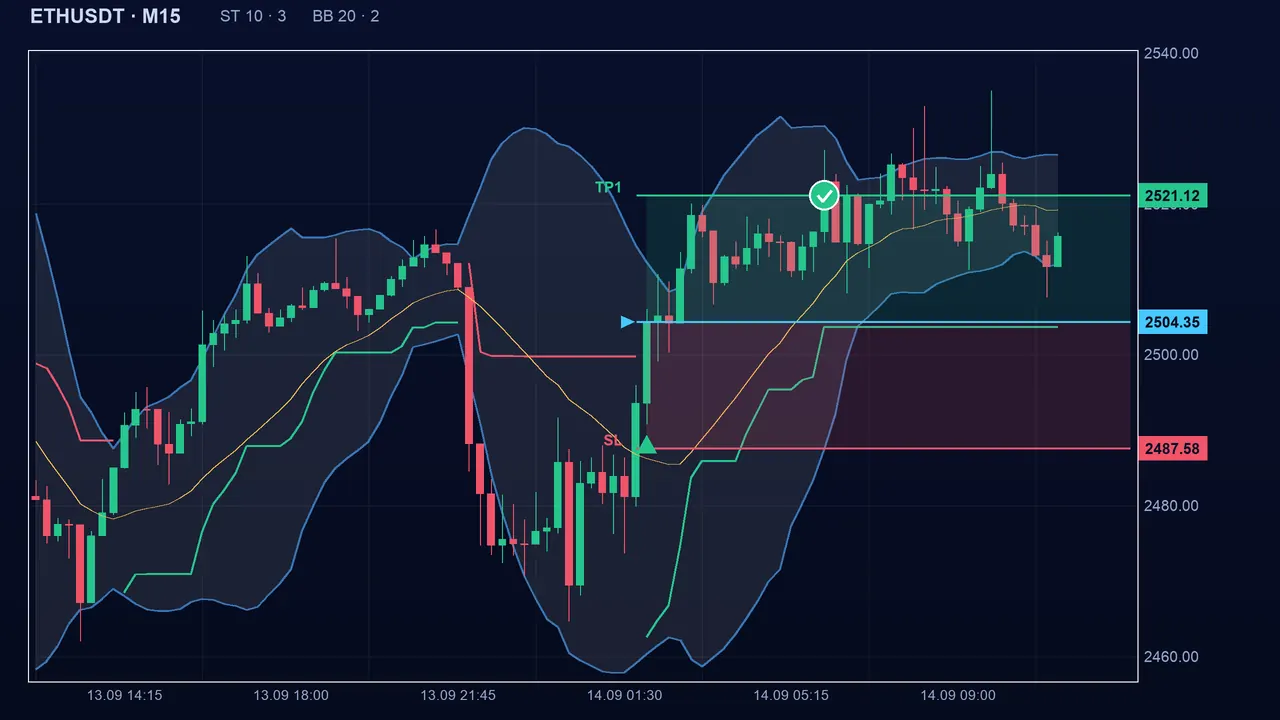
The ratio is high because the stop is short (1.5 ATR) and the band is far. A high ratio does not mean the target will be reached: price must cover the whole distance before touching the stop.
Settings and safeguards
- Stop multiplier (slMult): 1.5 by default, from 0.1 to 10.
- TP1 mode (tp1Mode): 1 = middle band (default), 2 = outer band. TP2 mode (tp2Mode): 1 = outer band (default), 2 = twice the TP1 distance.
- The bands themselves (Bollinger indicator): period 20 (from 2 to 200), deviation 2 (from 0.1 to 10). Wider bands push the targets away.
- With tp1Mode = 2 and tp2Mode = 2 on the example, TP1 becomes 1.0920 and TP2 1.1010: very distant targets, so rarely reached.
The Bollinger method is “guarded”. Safeguards (adjustable): the stop is on the losing side more than 0.1 ATR away; a stop cap in ATR (maxSlAtr, 0 = unlimited by default); TP1 at least 1 times the risk (minRR1); TP2 at least 2 times the risk (minRR2) and at least 0.5 risk beyond TP1. If TP1 is too close, mode 1 (default) moves it away; mode 2 brings the stop closer.
The pitfalls
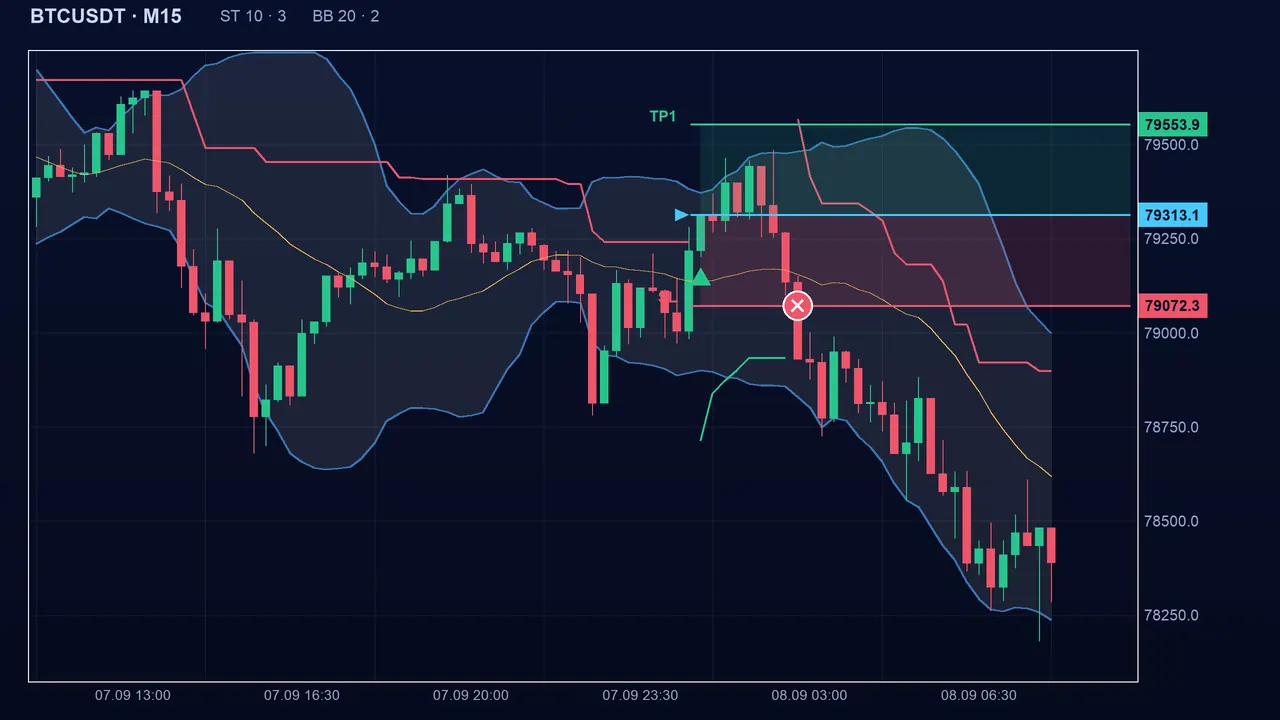
In a strong trend, price can walk along the outer band without returning to the average: the TP2 target is then reached late, or never. Bands also widen when volatility rises, which pushes the target away while the stop stays at 1.5 ATR.
Key takeaways
- Stop at 1.5 ATR; TP1 on the middle band, TP2 on the outer band on the trade’s side.
- The levels are those of the signal candle; the bands move afterwards.
- The safeguard moves TP1 away if it is closer than one risk: check where it really is.
- A high ratio is tempting but the distant target is reached less often.
- Confluence: combine with a trend indicator to judge whether a return to the average is plausible.
📝 Lesson test
Log in to take this lesson’s test. Once you have passed all the tests, you will receive a certificate in your name.
Log inThese lessons are for understanding and are not investment advice. No method guarantees winning.