
Some traders see the chart as a series of zones where price left a footprint: Order Blocks and liquidity levels. The zones method takes up this reading: the stop sits behind the nearest zone under entry, and the targets on the zones met above.
How the levels are calculated
Algo Signals builds a single list of zones. An Order Block is the body of the last opposite candle before a move that breaks the structure. A liquidity level comes from the Liquidity Sweep indicator: it is a precise price, so a zone of zero width. The entry price is the close of the signal candle.
- Stop of a buy: the nearest zone whose upper edge is under entry; stop = its lower edge − 0.5 ATR (cdBuf). For a sell, the nearest zone above, upper edge + 0.5 ATR.
- TP1: the lower edge of the nearest zone above entry (buy). TP2: the lower edge of the next zone; if there is only one, TP1 plus the entry-to-TP1 distance.
- Fallback: with no zone under entry, stop at 1.5 ATR (slMult); with no zone above, TP1 at slMult × rr1 × ATR and TP2 at slMult × rr2 × ATR from entry.
- The method does not distinguish types: any zone under entry serves as protection, any zone above as a target. A zone that contains the entry price is ignored.
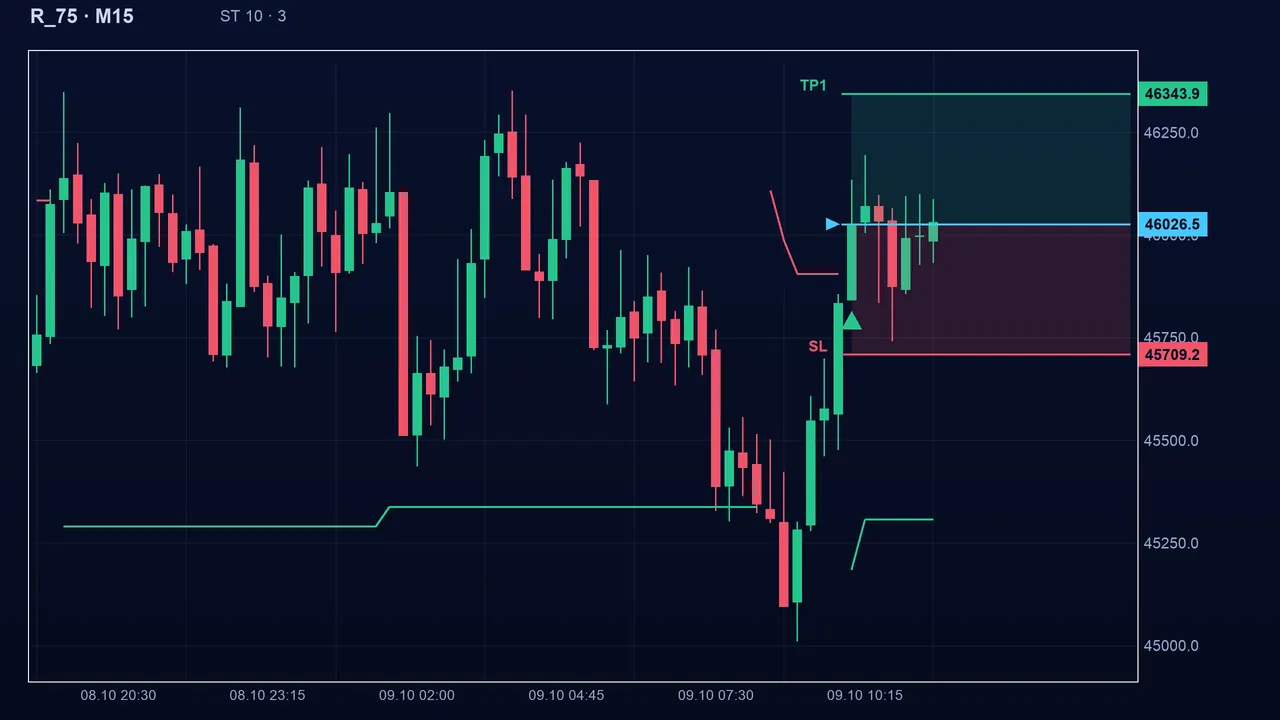
A worked case
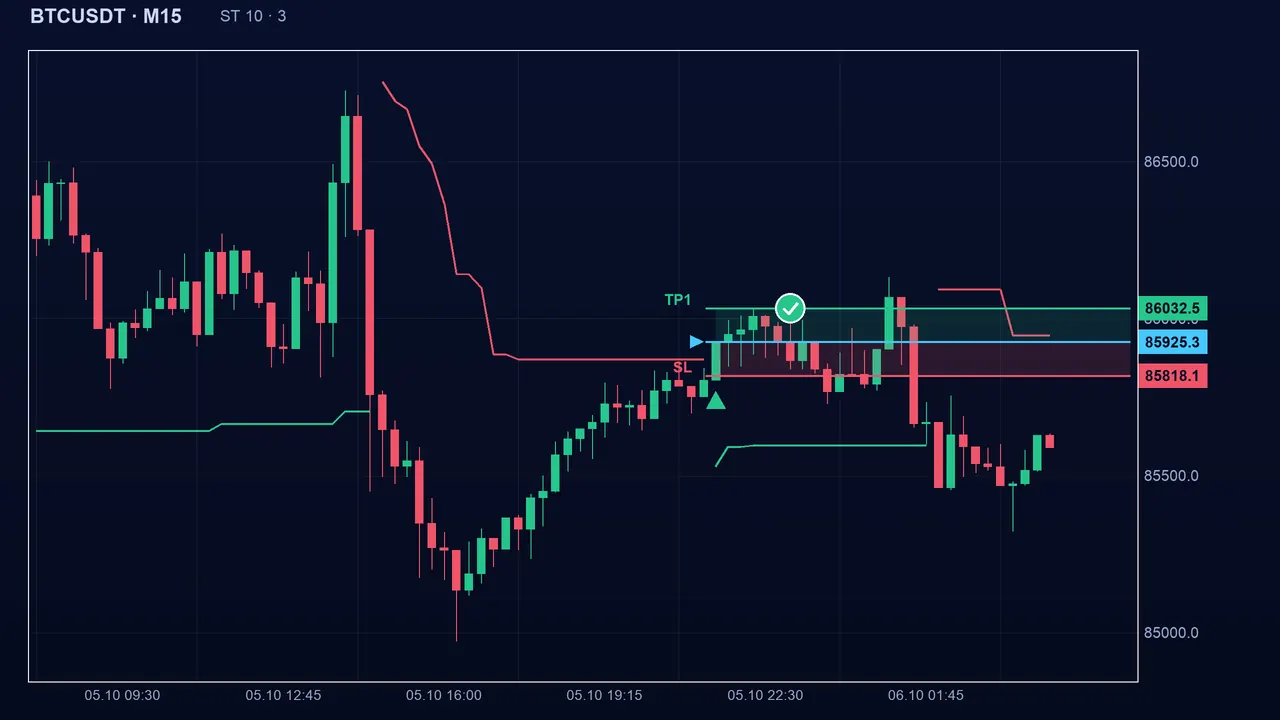
The stop has a reading behind it: if price crosses the buy zone, the footprint is erased. But this reading remains a hypothesis: an Order Block is not a guarantee of a bounce.
Settings and safeguards
- Margin (cdBuf): 0.5 ATR by default, from 0 to 5.
- Fallback stop (slMult): 1.5 ATR by default, from 0.1 to 10. Fallback ratios (rr1, rr2): 1 (from 0.2 to 10) and 2 (from 0.4 to 20), used only when no zone is above.
- The zones themselves: Order Block, 3 candles left and right; Liquidity Sweep, 3 candles left and right, window of 30 candles.
- Safeguards (“guarded” method): stop more than 0.1 ATR away on the losing side; cap maxSlAtr (0 = unlimited); TP1 at least 1 times the risk; TP2 at least 2 times the risk and 0.5 risk beyond TP1.
If a target falls too close, mode 1 (default) moves it away, mode 2 brings the stop closer. Remember that the corrected target is then no longer on a zone.
The pitfalls
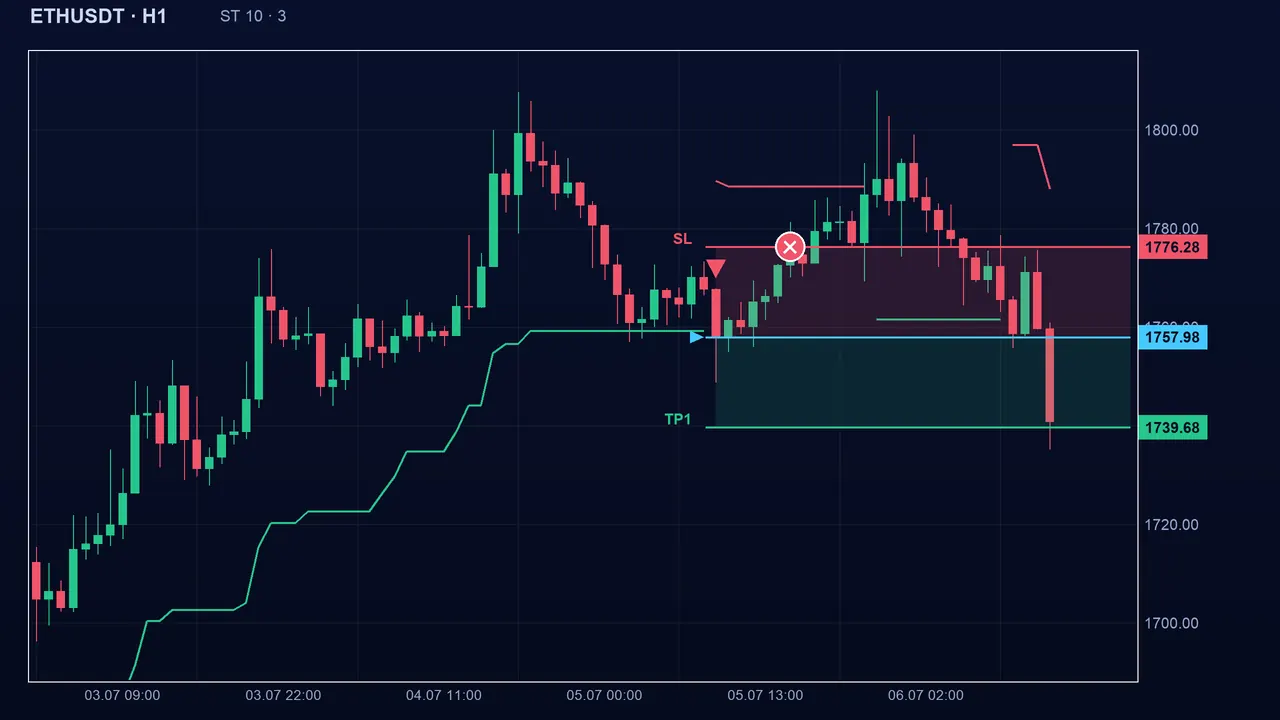
The zones are computed once on the loaded history: for an old signal they may contain references that appeared later, to be read with caution. And since types are not distinguished, a barely relevant reference can serve as a stop or a target.
Key takeaways
- Stop under the nearest zone (minus 0.5 ATR); TP1 and TP2 on the next two zones above.
- A zone containing the entry is ignored; with no zone, fallback to 1.5 ATR.
- Only one reference above: TP2 extends the TP1 distance.
- High ratios come from distant zones, not from an edge: the target is reached less often.
- Confluence: a signal resting on a known zone plus a trend indicator is easier to read.
📝 Lesson test
Log in to take this lesson’s test. Once you have passed all the tests, you will receive a certificate in your name.
Log inThese lessons are for understanding and are not investment advice. No method guarantees winning.